Showing posts with label glazing. Show all posts

Thursday, 3 November 2011

Barge Engineer Commission

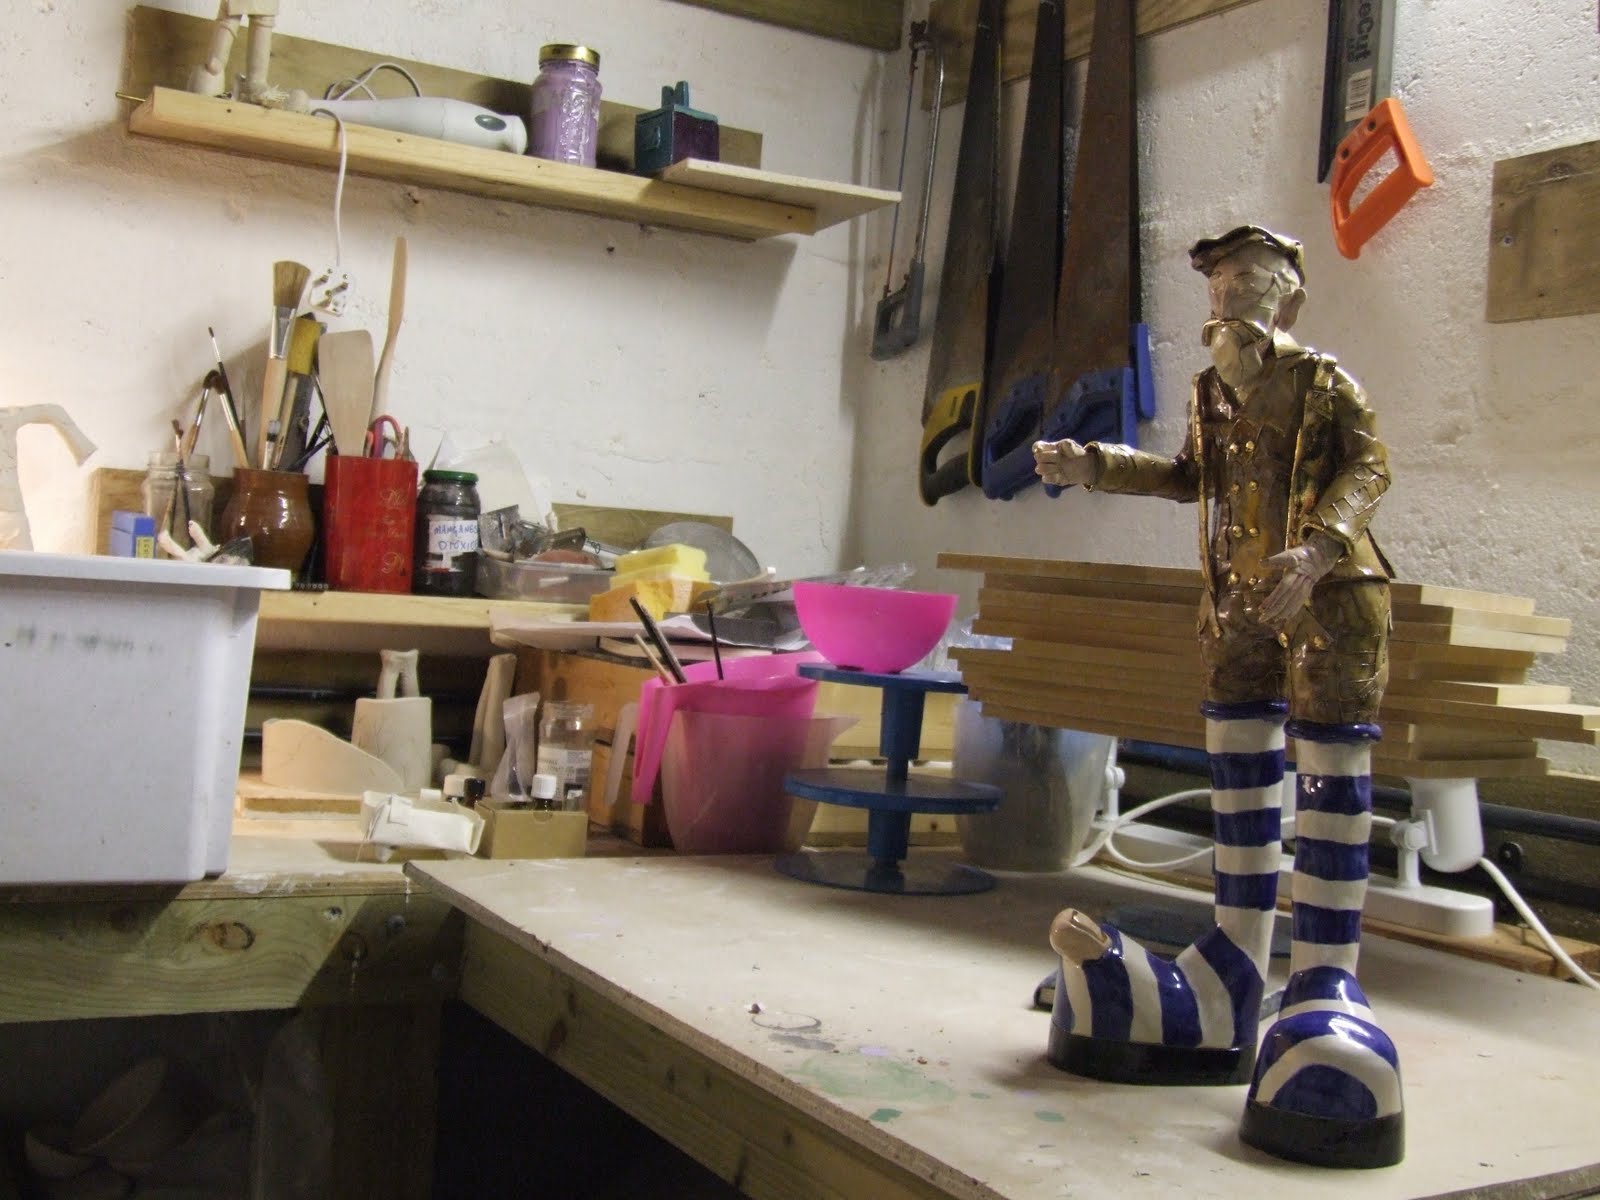
Here he is, the Barge Engineer...

The commission was from a gentleman who worked in the oil industry all his life - right from the discovery of oil in the North Sea.  He wanted a figure, of himself in his younger days with the full 'Canadian Tuxedo'  denims, boots, 70s shirt, moustache and a McDonald T hat.
The McDonald T was an aluminium hard hat which has long since been banned due to health and safety, but some do still adorn houses in the North East of Scotland....

My mum uses my Dad's old one as a hanging basket!


holding a coffee cup and a walkie talkie


Friday, 22 April 2011

Glazing

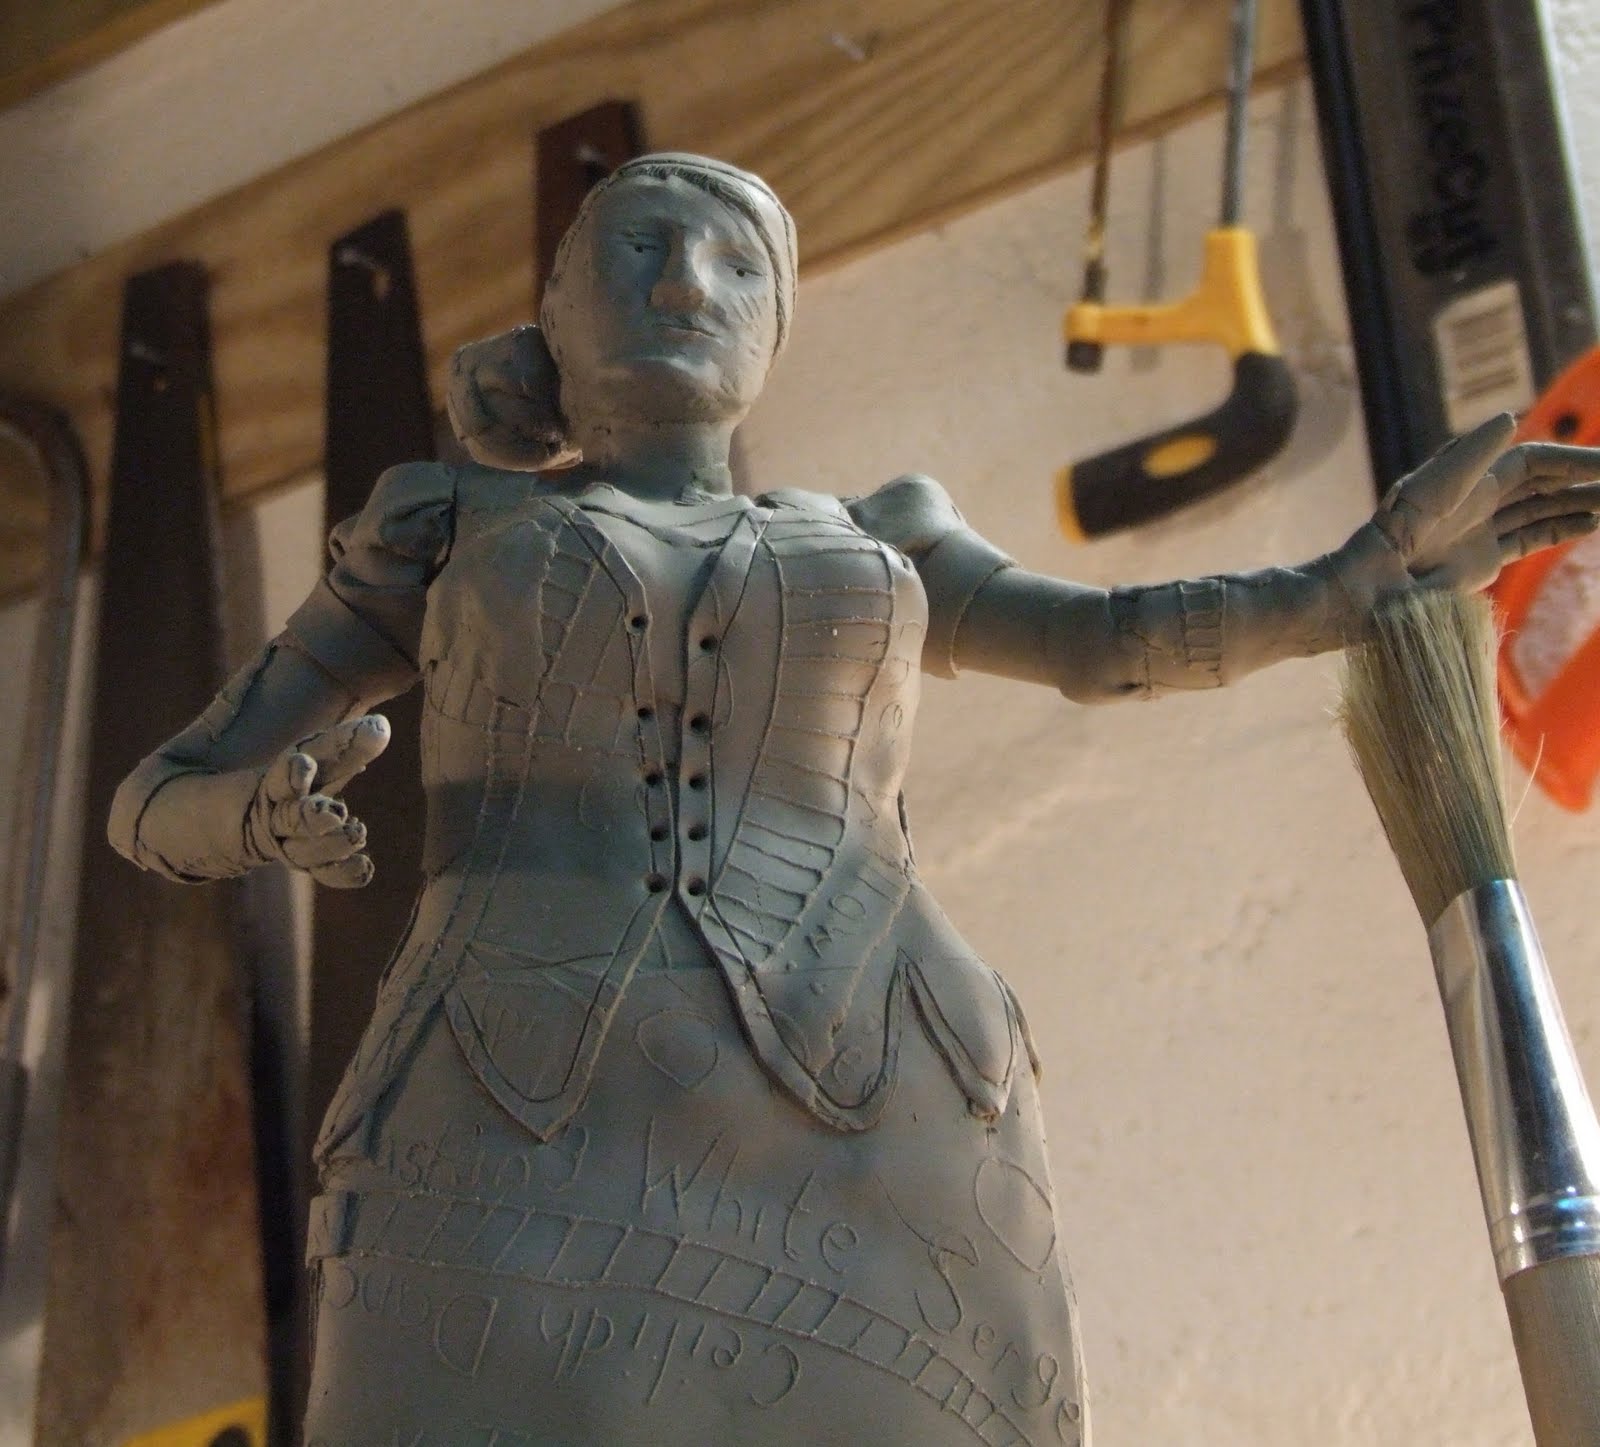
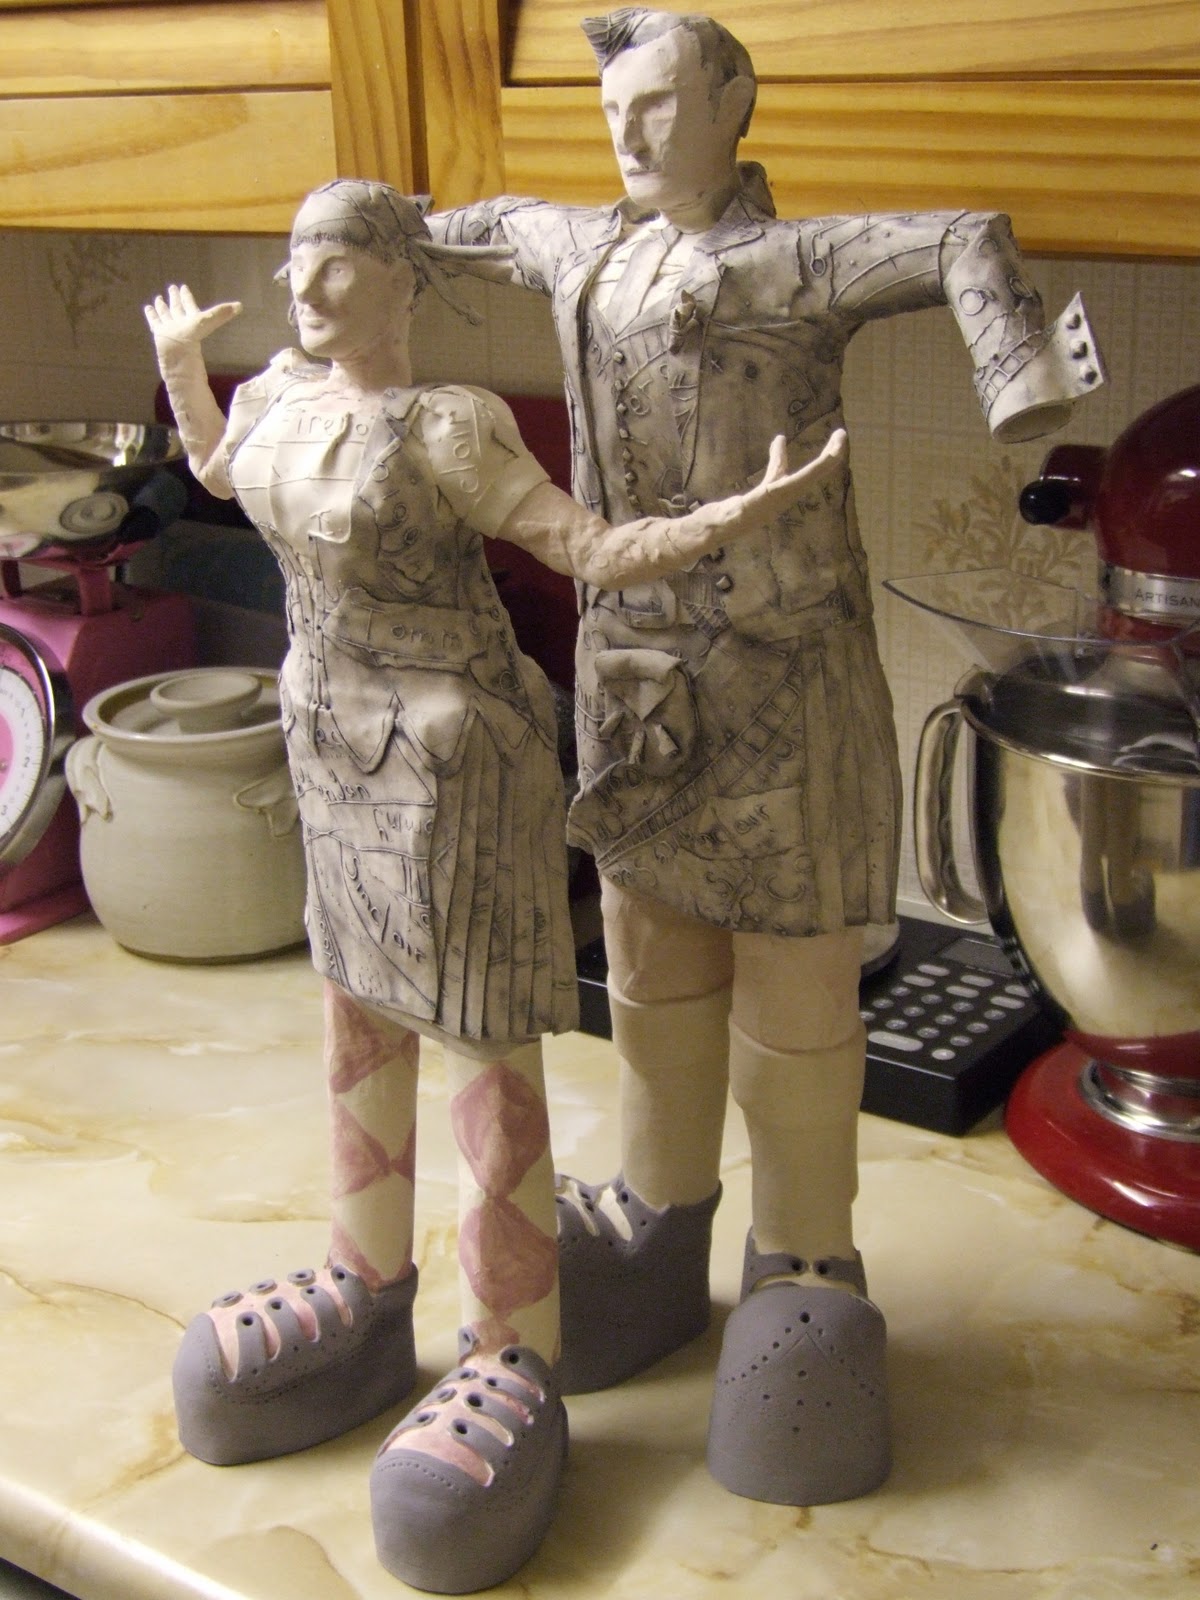
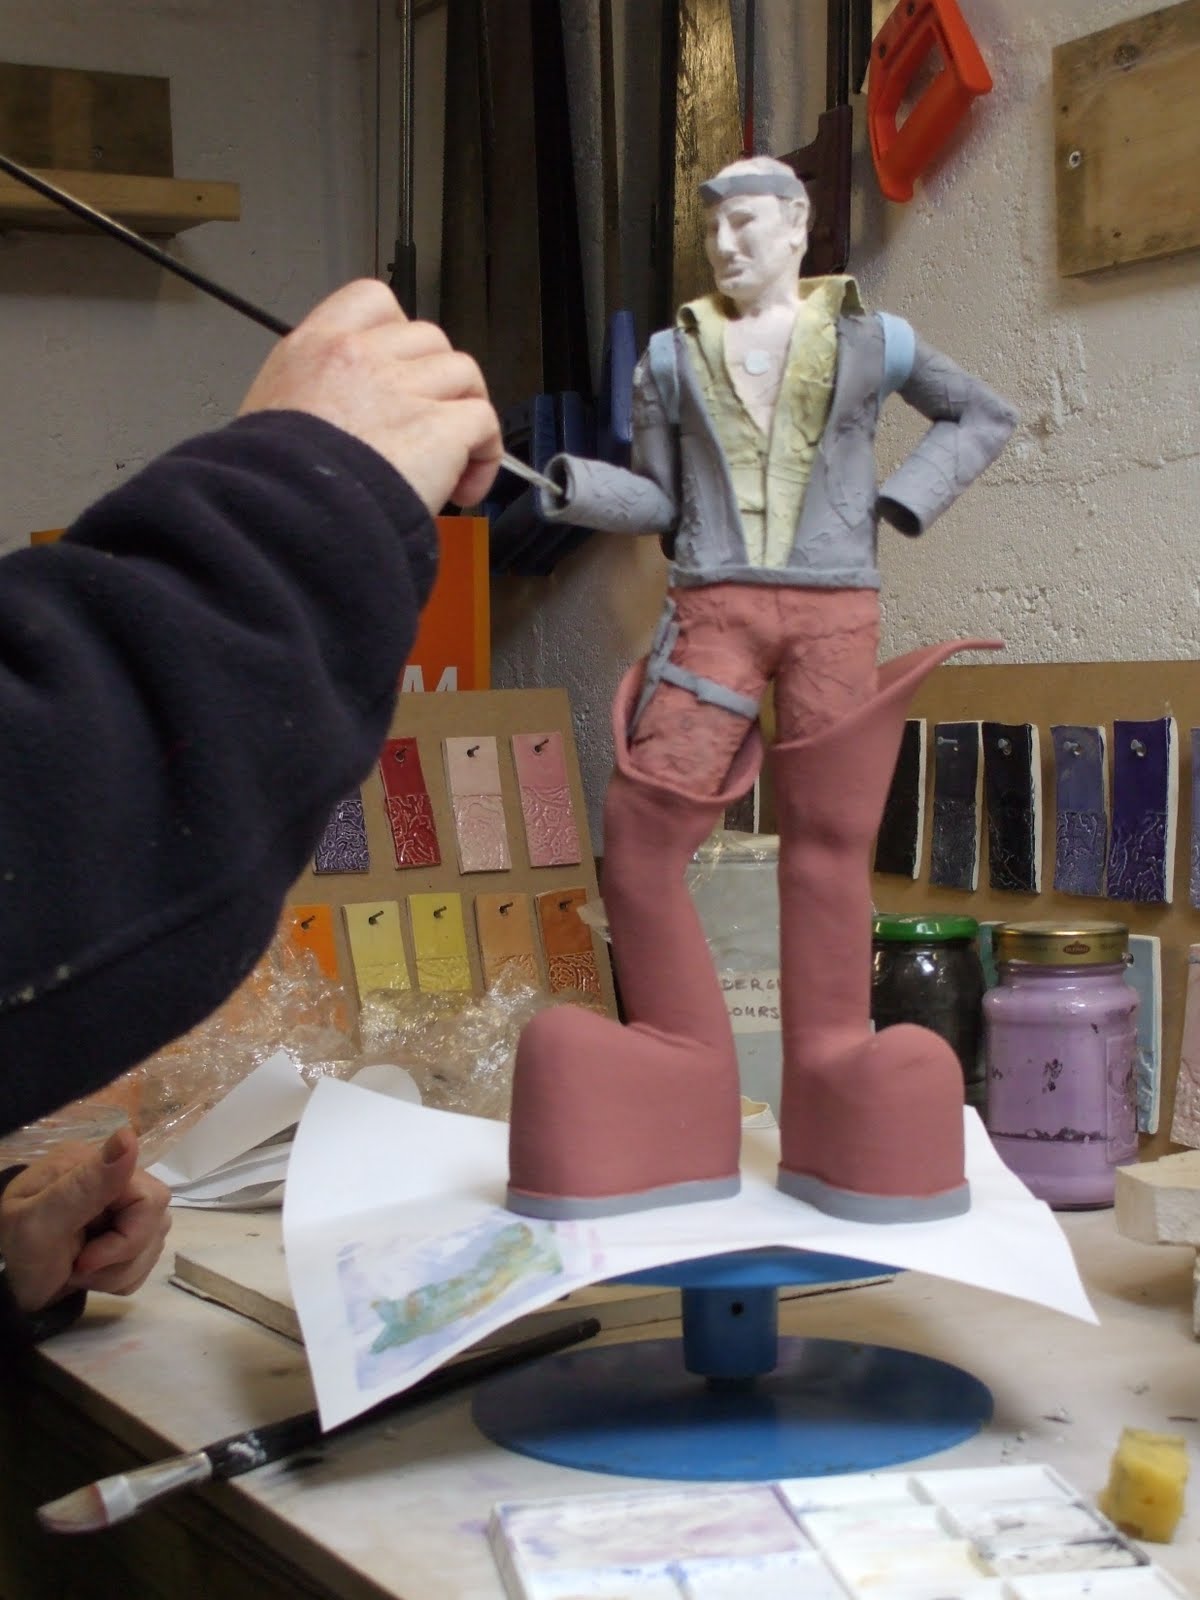
Last weekend was all about the glazing.  I underglaze most of my figures which involves painting on a layer of matt, transparent colour and sponging most of it off so it seeps into the cracks and around the lettering on my figures.  Once this is dry I usually paint one layer of transparent coloured glaze over the top to deepen the surface.
For instance, the green colour of the kilts is enhanced due to the black underglaze - the green by itself would look too bright and cartoony.

The shoes get slightly different treatment as these have 3/4 layers of glaze painted on to get the deep high-gloss finish.

My mum came and helped with the glazing of these last weekend - what a lifesaver!!

underglazing

Mum painting glaze - what a star!

Mum still painting!

still at it

ready for overglaze

Wednesday, 13 April 2011

For the want of red underglaze......

Just an update on progress so far.  Its slow but I am very pleased with what has been achieved so far.

Today I got the two figures for Aberdeen Artists out of the bisque kiln and glazed them before finishing the second lady for the Dashing White Sergeant and completing a twirling couple.

A minor panic though - I lost track of the kiln so it probably over fired by 60C - lets hope it has not caused major damage....

At some point this week i will have to be honest with myself and really think about what i can and cannot achieve in the time left.  So far it has been a huge learning experience; the most figures I have completed in one go was 8! I have 19 planned....

I was planning to have one more Ceilidh Couple but I may start with the Fisher Fowk as a just-in-case.  Besides, the kits take absolutely ages!

heres the progress these past few days:


Military Two Step


2 of the dashing White Sergeant

Fired Mannies

Extra special magic dust came in the post today...

Finally found the red underglaze

Mid-glazing


Monday, 20 December 2010

Bisque Success!

Thankfully, all 4 figures were successfully fired to 1150C this week.  Below are the underglazed figures, having been taken inside overnight.  Firstly to dry and secondly, to make sure they dont freeze out in the garage, its well minus double digits here in the North East...

The translucency and colour of glaze on top of the underglaze determines how the finished figure will look, it also emphasises the words and tears on the clay, as well as giving a depth to the surface which cannot be achieved by 'painting by numbers' with glaze. 
A selection of hands and tools

This pair will be in red tartan eventually


TSC...Sssssssh!

Pinkie Nurse

Friday, 10 September 2010

Thursday

Well, 0830 this morning and I tentatively opened the kiln to find 4 perfectly fired figures.
It been another long day and the kiln is now on again with the now glazed mannies and wifies. 

As you will see in the pictures, I paint an underglaze on the figures first and rub it back with a sponge, this gives a deeper texture and emphasises the torn edges and text on the clay.  I then paint on a transluscent glaze so the 2 compliment each other. 

Glazes are not like paints, they often cannot be mixed together or touch other glazes, and they never come out of the kiln the same colour they came out of the pot!
I use ready made earthenware glazes in a variety of colours, you can see all my test tiles along the wall in the photographs.
Rubbing back green/ black underglaze
Underglaze
Painting diamonds on socks
Black underglaze for these two
The shoes are glazed with blackand the rest of the figures are drying awaiting a coat of glaze
One finished
two to go
Work in progress
This gross brown colour I'm painting will be a transparent green - believe it or not!
Cleared workspace with just A Blue Mogganer for company.....

Thursday, 12 August 2010

First Post!

Welcome to my blog, I am currently working on a range of new porcelain work but thought you may be interested in some past work. 
A recurring question from people who see my work is.. 'How is it made?' and 'Does it have an armature?'
Below is a series of working photographs from a piece I made last year.  The piece was a retirement present made to represent the person and his diverse interests, you can see the processess from start to finish.  If you wish to see all the photographs, just e-mail me!
Working drawing and initial 'wedging' of the clay to remove air bubbles.

flattening
cutting feet
started!
forming shoes
rolling coils
forming and smoothing legs
coil building up to waist
forming waders
VERY smelly paperclay!
plaster bats
adding paperclay to surface
working paperclay on bat
using thin clay to form details
book detail
ice axe and camera
ski boot
checking it fits
trying scale of head
finished making!
details including: first aid kit, laptop, keys, compass and hand.
left for drying
In kiln with pyrometric cone to 1150C
after firing, a cream colour
1st layer of glaze and underglaze
finishing off - glazes will significantly change colour during firing at 1060C
details before glaze firing
Finished and with delighted owner!