A recurring question from people who see my work is.. 'How is it made?' and 'Does it have an armature?'
Below is a series of working photographs from a piece I made last year. The piece was a retirement present made to represent the person and his diverse interests, you can see the processess from start to finish. If you wish to see all the photographs, just e-mail me!


Working drawing and initial 'wedging' of the clay to remove air bubbles.
 |
| flattening |
 |
| cutting feet |
 |
| started! |
 |
| forming shoes |
 |
| rolling coils |
 |
| forming and smoothing legs |
 |
| coil building up to waist |
 |
| forming waders |
 |
| VERY smelly paperclay! |
 |
| plaster bats |
 |
| adding paperclay to surface |
 |
| working paperclay on bat |
 |
| using thin clay to form details |
 |
| book detail |
 |
| ice axe and camera |
 |
| ski boot |
 |
| checking it fits |
 |
| trying scale of head |
 |
| finished making! |
 |
| details including: first aid kit, laptop, keys, compass and hand. |
 |
| left for drying |
 |
| In kiln with pyrometric cone to 1150C |
 |
| after firing, a cream colour |
 |
| 1st layer of glaze and underglaze |
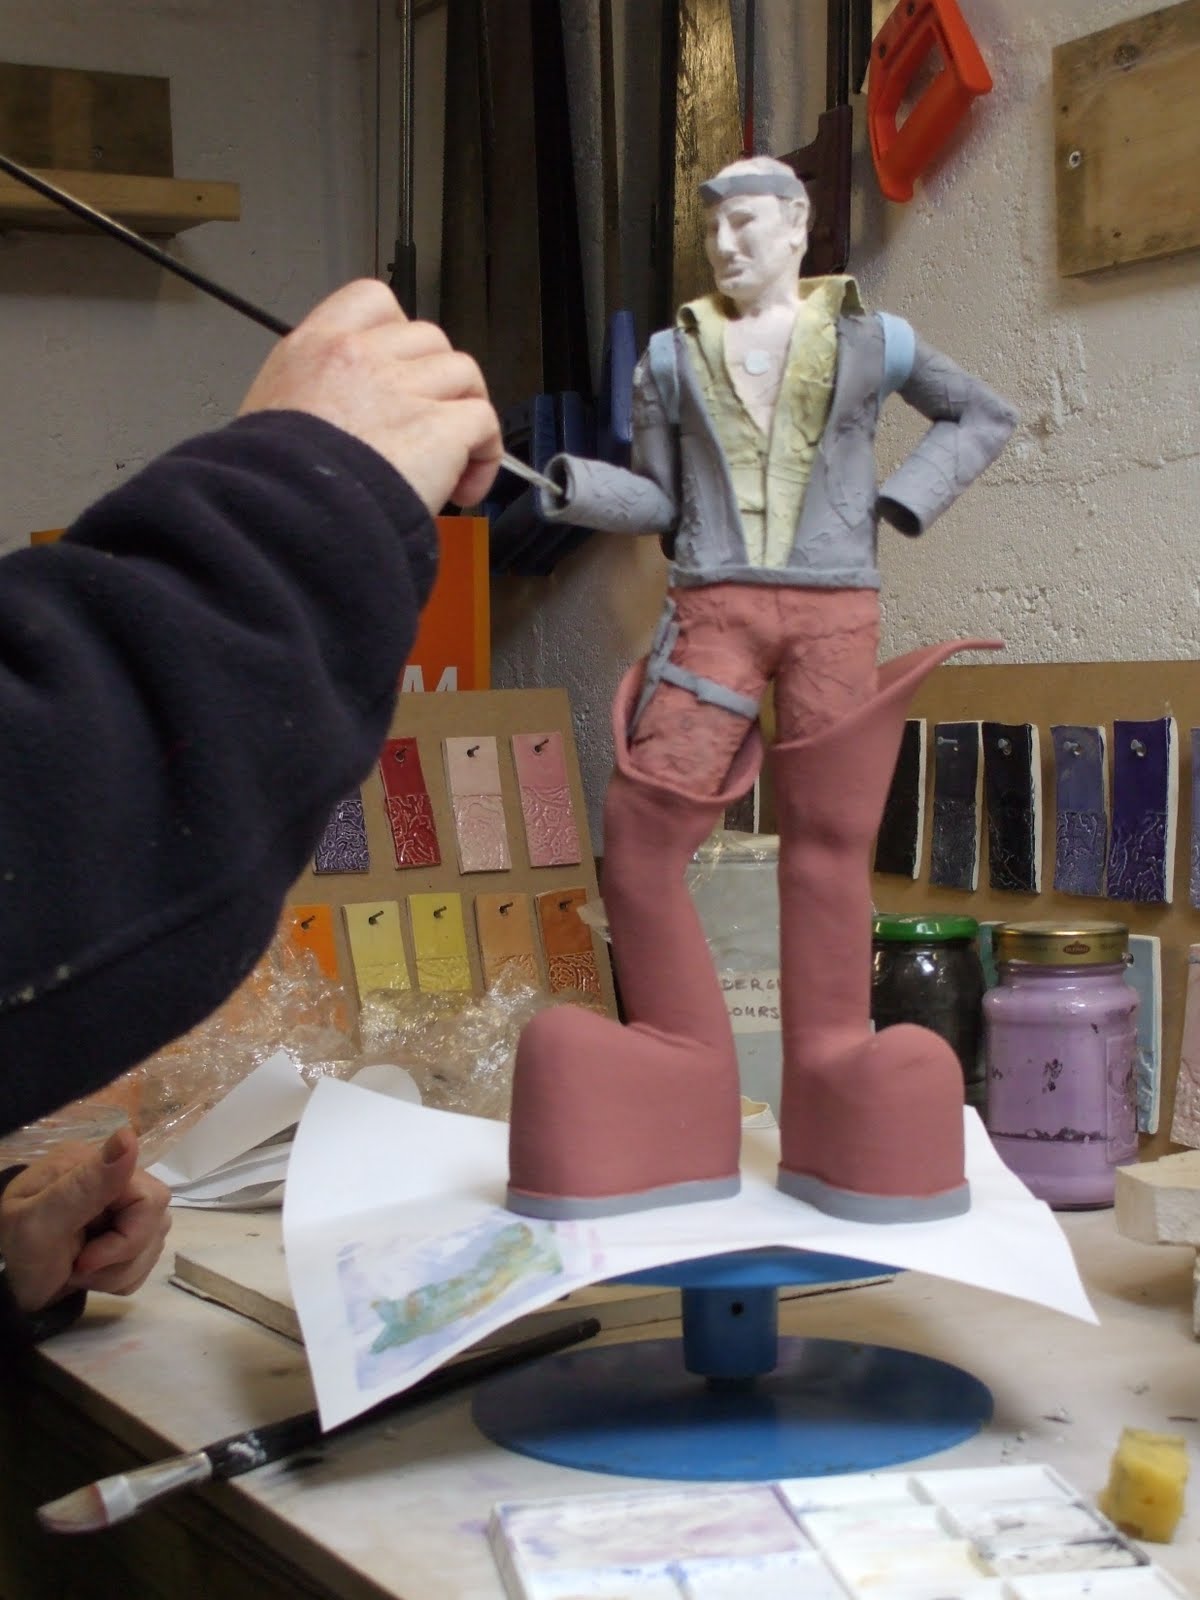 |
| finishing off - glazes will significantly change colour during firing at 1060C |
 |
| details before glaze firing |
 |
| Finished and with delighted owner! |
superb... great step by step photo session! good work!
ReplyDelete